Real-Time Caustics Using Screen Space Directional Occlusion
Damon BlanchetteMaster's Thesis
Professor Emmanuel Agu
Worcester Polytechnic Institute Department of Computer Science
Abstract
Computing global illumination (GI) at real-time framerates has only recently become plausible due to advancements in GPU technology, increasing processor speeds, and novel GI approximation algorithms. One set of GI algorithms work in screen space using texture representations of the scene, allowing them to run independent of the scene's complexity. Screen space directional occlusion (SSDO) is a global illumination approximation that is an extension of screen space ambient occlusion (SSAO), and differs in that it takes into account the scene light's position and color to create the final image. This allows GI effects such as colored soft shadows and indirect lighting, which SSAO cannot simulate. However, SSDO in its current form does not handle other important GI effects such as refraction and caustics. We propose extending SSDO by adding a screen space technique for caustics using adaptive caustic maps.
What I'm Doing
This thesis will essentially simulate in real-time at least three global illumination effects that before were only available either with very slow rendering processes or in individual algorithms.
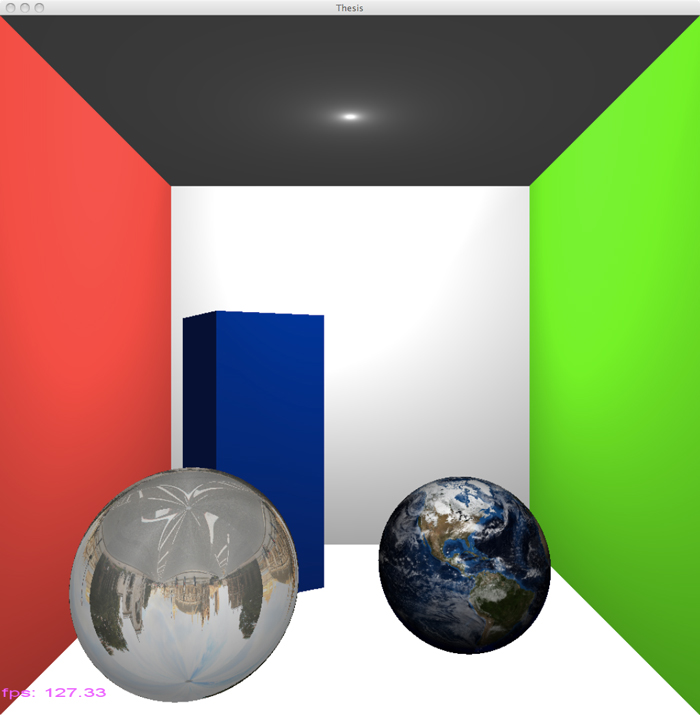
To illustrate, here is an example image that took about 30 minutes to render on my laptop:

I modeled this Cornell Box in Blender and rendered it with LuxRender. The image shows three global illumination effects that are part of the physics of light: indirect lighting, color bleeding, and caustics.
Indirect lighting is the illumination of objects that occurs from light that has reflected off at least one other object beforehand. The ceiling of the above image is lit mostly by indirect lighting that has bounced off the floor, the monkey head, the sphere, and the walls.
Color bleeding occurs when indirect light reflects off of a colored object and transfers some of that color in the process. Color bleeding can be observed on the edges of the ceiling and floor near the red and green walls. Also notice there is some green and red in the shadows of the objects. Colored shadows are the result of indirect lighting with color bleeding.
Caustics are the result of focusing (or de-focusing) of light due to transfer through a refractive medium or off a reflective surface, such as glass, water, or a curved mirror. Caustics can be observed in the shadows under both the monkey head and sphere, which are simulated as glass objects.
All three of these effects have only been possible to calculate in real-time in the last decade or so, and even then researchers needed to use supercomputers with tens or hundreds of processors. In just the last few years with GPU technology, faster CPUs, faster memory (and more of it), and advanced approximation algorithms, certain effects are now able to be simulated on relatively normal desktop computers interactively or in real-time.
When I say "real-time", I mean that the lighting calculations are computed for every frame, with a rendering speed of at least 30 frames per second. The above image, while very realistic and also physically accurate, took 30 minutes to render just the one image. My goal in this thesis is to create images that approximate the look of the above image while only taking 1/30th of a second to create instead of tens of minutes or hours (as in the case of a frame of a Pixar animation).
How I'm Going To Do It
I will be utilizing an algorithm that simulates indirect lighting and color bleeding introduced by Tobias Ritschel, Thorsten Grosch, and Hans-Peter Seidel that they have termed Screen Space Directional Occlusion (SSDO) and extending it with an algorithm for simulating caustics introduced by Chris Wyman and Greg Nichols called Adaptive Caustic Maps (ACMs).
Both algorithms are implemented using shaders, which are executed by a GPU. They both work in screen space, meaning they do not directly make calculations on the geometry that make up a scene. Instead, they work using images (textures) that represent various aspects of the scene, including the color, depth, normals (direction that the geometry is facing), and materials represented by every pixel to be drawn. Because the algorithms use textures for their calculations, and GPUs are exceedingly fast at processing textures, real-time framerates can be achieved.
Screen Space Directional Occlusion
SSDO is an extension of Screen Space Ambient Occlusion (SSAO), which creates soft
shadows on edges where objects are close to each other. SSAO lacks in one very important area: it does not take into account the direction that light is
traveling before it hits an object, so its possibilities are quite limited. SSDO does take into account light direction, allowing the aforementioned effects of
indirect lighting and color bleeding, along with much more realistic soft shadows.
The following video, created by the researchers who introduced SSDO, illustrates everything it can do:
Adaptive Caustic Maps
ACMs simulate caustics in screen space much the same way that shadow maps simulate shadows in real-time graphics. In essence, the entire scene
is rendered from the point of view of the light, giving a representation of all the surfaces of the scene lit by direct lighting. In areas where refractive objects
exist (such as those made of glass), the light is refracted and placed onto a texture. This texture is compared to another texture representing the camera's view
of the scene, and in that way caustics may be projected onto the final image.
The following video illustrates caustic mapping as implemented by graphics researchers Shah and Pattanaik at the University of Central Florida:
Notice how in both videos the camera, objects, and/or the lights can move around freely, and also in each the animation is smooth owing to the at least 30 fps framerate. Doing the calculations in real-time allows these algorithms to have possible uses in video games and other instances where graphics quality and speed are paramount.
Progress
I began work on this thesis in January 2011, and the following is everything I've completed up to right now.
The first thing I needed to do was learn to write shaders, so thanks to The Orange Book I was able to get quite a bit of knowledge. Here is my original scene geometry, using an easy shader for per-pixel lighting:

Framerate on that scene is a fantastic 129 fps, mostly because the calculations for that shader are incredibly simple. For fun, here is the ubiquitous brick shader, which is also quite simple:

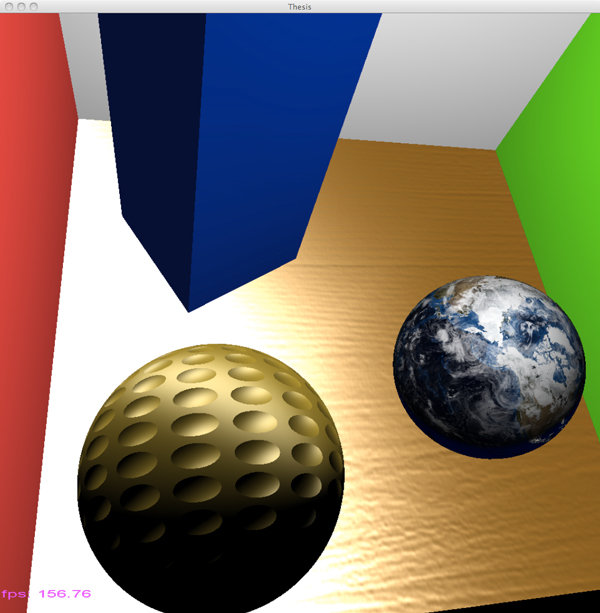
Next up is texturing using shaders, so here's a screenshot of a textured Earth in the scene (which actually rotates too). Also in the image is another sphere with a texture mapped onto it to look like it's a reflective surface:
Here I have normal mapping, which creates the illusion that a surface is rough (or any kind of textured surface like a golf ball in this case) even though in reality it is smooth:
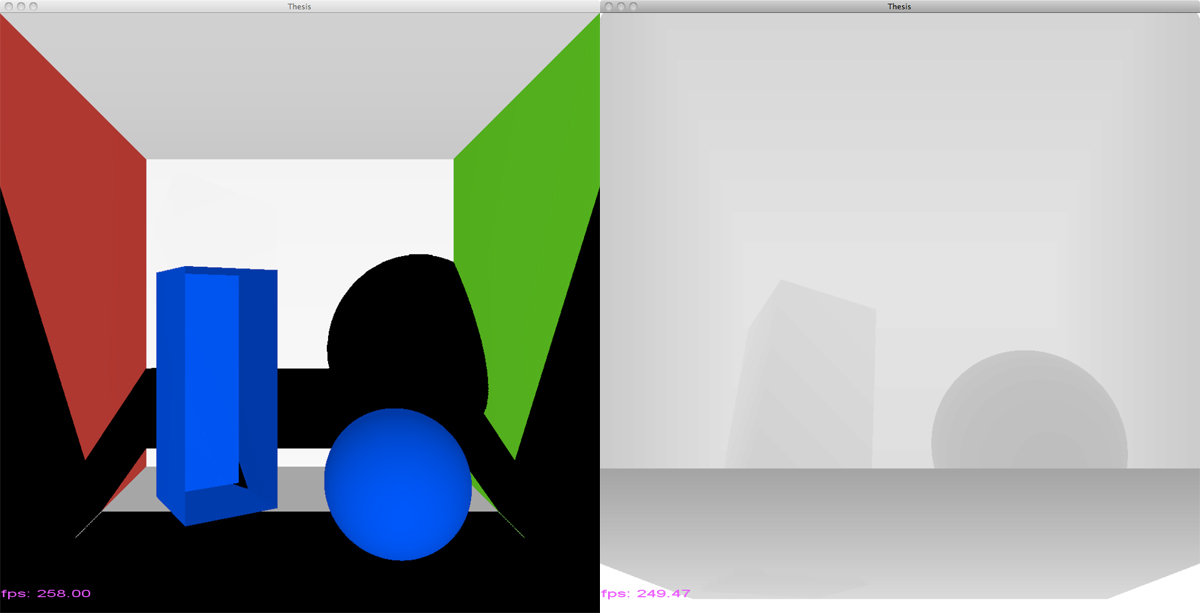
The following image illustrates shadow mapping. On the left is the scene from the camera's point of view, with slightly messed up shadows since I hadn't completely figured it out at that point, and on the right is the view from the light source as a depth texture. In a depth texture, pixels closer to the camera are darker and pixels lighter are farther away.
And here I have shadows working far more correctly:

Here is a fun image created while I was tweaking values and trying to get a screen space ambient occlusion shader working:

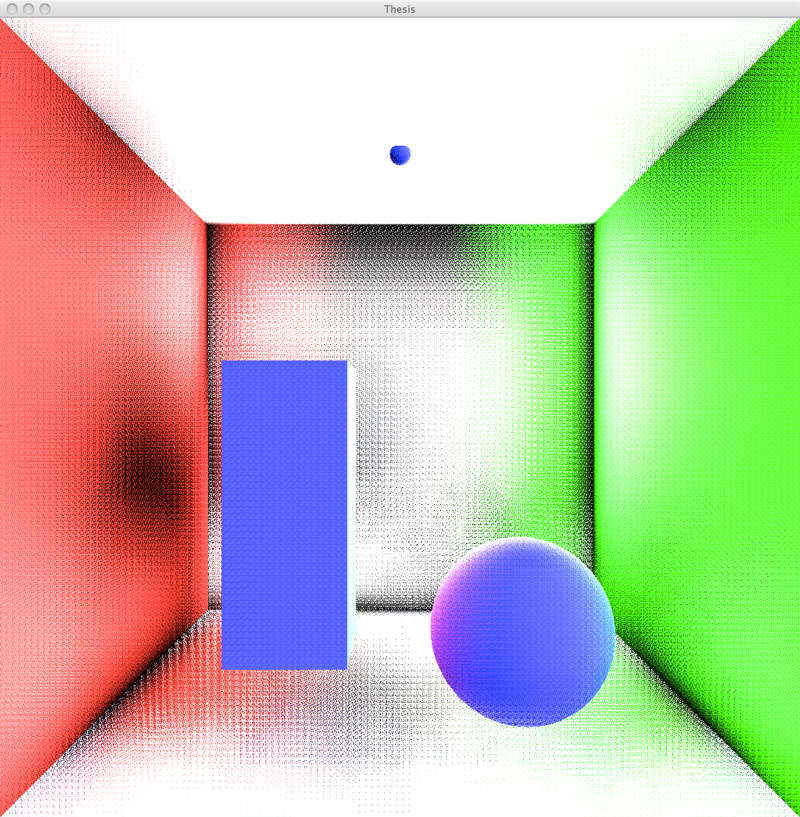
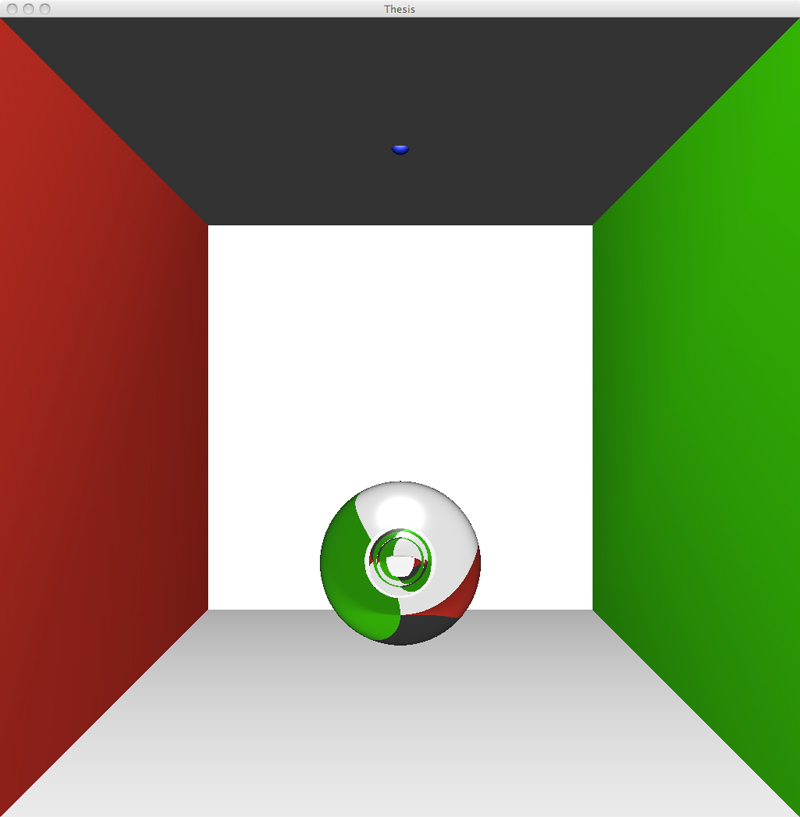
The next image shows a texture containing the normals for the scene, which are needed for SSAO, SSDO, and also ACMs in fact. The normals encode the direction that a piece of geometry is facing, and the sphere will help me explain it. Notice that surfaces facing the right side of the screen are red: the left wall and the right side of the sphere in this case. Surfaces facing up in the scene are green: the floor and the top of the sphere. Knowing the direction a surface is facing is very important for all kinds of calculations, such as how light reflects off of or through a surface.

April 14, 2011
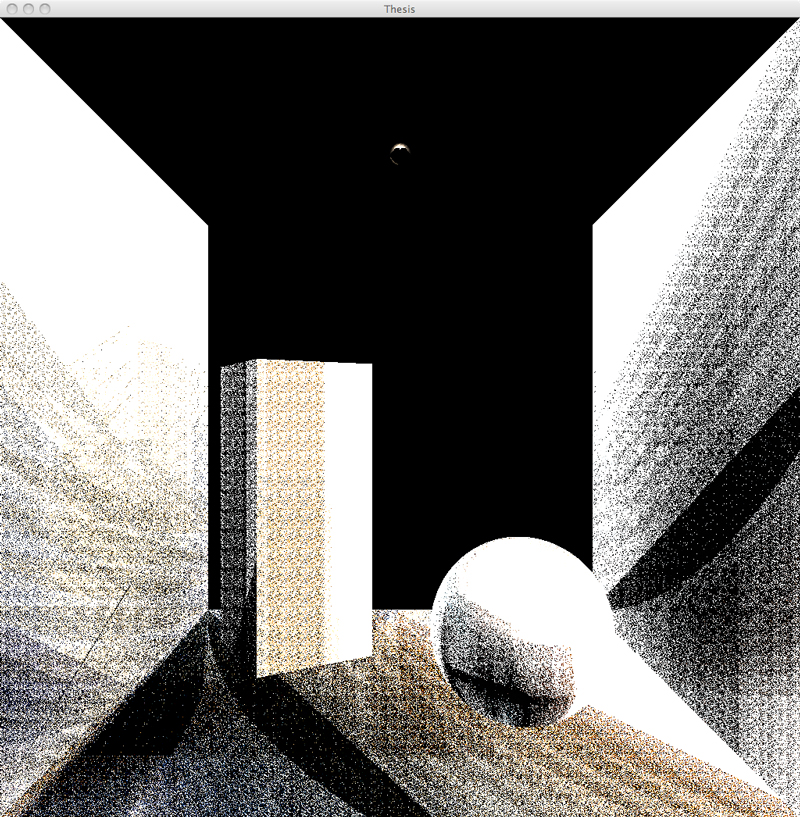
Here I have screen space ambient occlusion very close to completely working. It is "pixelated" or noisy in the occluded areas because I don't do any
blurring on the image, which is required for better quality softer shadows.

April 19, 2011
With SSAO mostly working, I've decided to move on to SSDO. Here is a screenshot where I've got it running (beyond the just
black image I had for an hour or two after first implementation) where I'm trying to tweak settings to get it to show up correctly, which it's obviously not doing.
Back wall and ceiling have been removed for checking on the lighting, so that's why those areas are black.
April 23, 2011
Here is the latest shot showing SSDO getting close as far as I can tell. Some color bleeding can be seen from the green
wall to the floor and the shadows are starting to look correct. Back wall and ceiling are still removed on purpose, and this scene is running at about 14 frames
per second.

April 27, 2011
Found out what one major problem was! My texture containing random sample points in a hemisphere was, in a word,
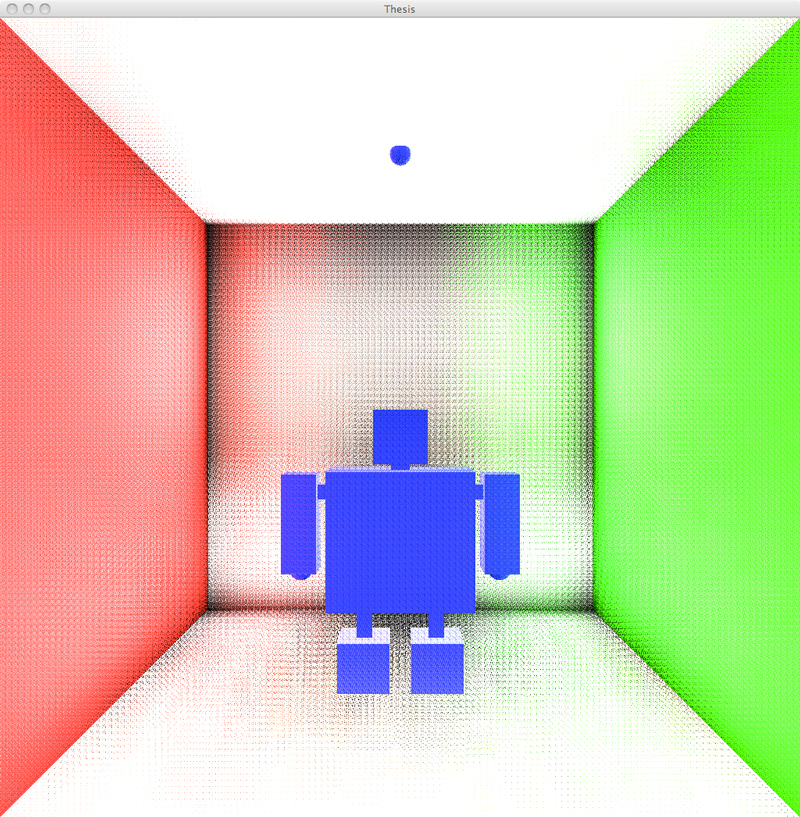
incorrect, and I found a couple functions in some code that the original authors of SSDO have released that of course calculated it in the right way. The following two screenshots show
the result, which is far better than what I had. Notice the color bleeding on the white surfaces (and some white color bleeding onto the colored parts... will need to work
on that probably) and the shadows are very close. It may be a matter of tweaking again some of the eight or so variables sent to the SSDO shader. I have added a .ply
file loader to my code as well so I can try this out on any model I download or create myself in Blender.
And now, a bit about what it takes to do this with our friend, the Stanford Bunny. I've already mentioned that with screen space algorithms you need textures representing various aspects of the scene with which to do calculations. Some of the textures are re-calculated for every single frame, while others (the random sampling data and environment map for example) are only loaded once and re-used for every frame. The following are those textures along with the final result. First, the straight color data and the pixel position data:

The position data looks like it does because the center of the image (in 3D space remember) is (0, 0, 0). Values above that are positive and values below are negative (no color), which is why the colors change where they do. It also looks unusual because it's really position data (x, y, z) values basically converted to color values so they can be visualized, which is unusual anyway. The SSDO shader does not use the colors, it uses the number values. Next we have the "normal" data:
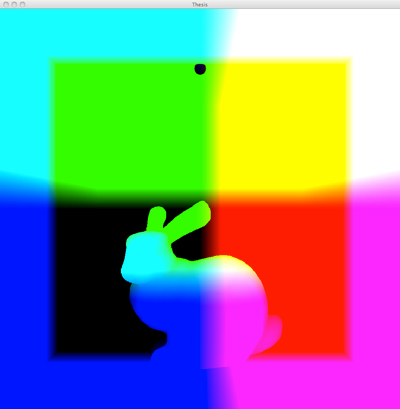
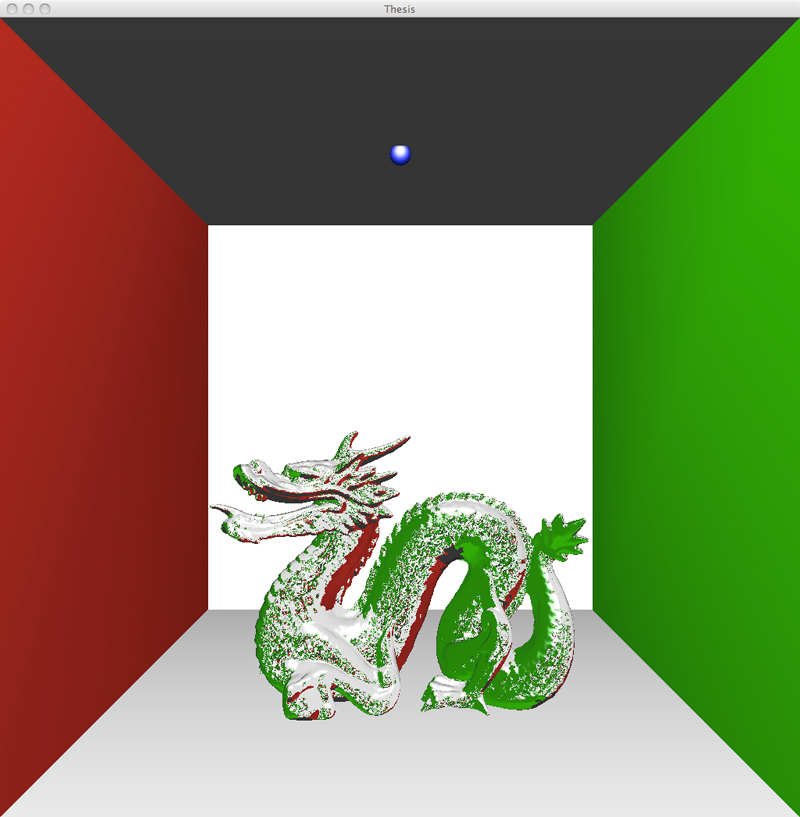
The normal data are the directions that each piece of geometry is facing for that pixel. Well, since I'm now looking at it, I can tell that the bunny's normals are reversed (for example, parts of the bunny facing downwards are green, when in fact it should be the upward facing parts that are green), which probably explains why it has red and green coloration on the opposite sides where it should in the final image, which is below. That's why it's helpful to visualize these things! Next up are the environment map that surrounds the entire scene (left) and the random sampling values for the unit hemisphere (right):
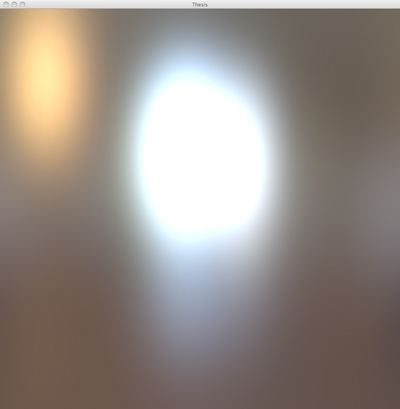
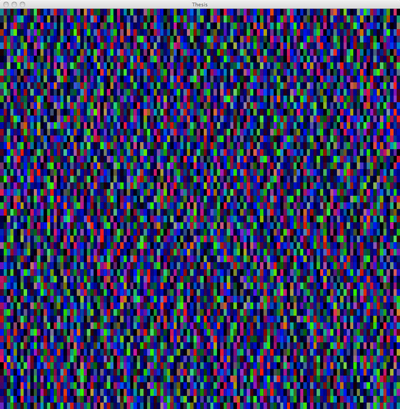
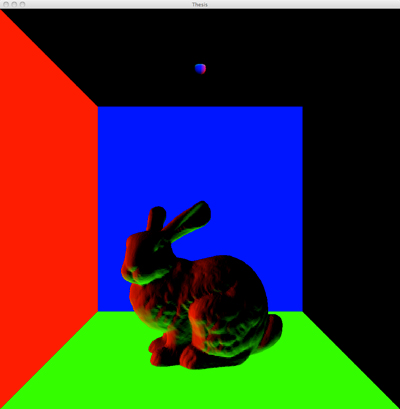
The environment map is essentially wrapped around the entire scene, bringing some lighting data (where it's bright) and a small amount of color data to the final image. It is where in the final image (where it may be hard to see because I reduced the image size to get it on this web page) a slight orange and bluish hue is imbued. The random static looking image is supposed to look like that because it is supposed to be random data. It is where my previous problem was, because I had truly random data originally when what I really needed was pseudo-random data that falls within certain values - red, green, and blue values that have to be between 0 and 1 for example. Without mostly random data such as that, shadowed and indirectly illuminated areas of the scene would look like they have a specific pattern in them (not good for realism!). Next up is the final image, with the SSDO shader combining the data from the previous five images and doing its calculations on that data:
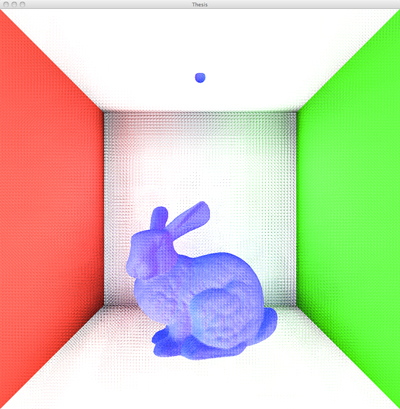
The program is running here at about 8 frames per second, which is exactly the same as the two above containing the sphere and box and the robot. This is true even though the Stanford Bunny model contains 69,451 triangles and the other two scenes contain maybe 40. That is part of the beauty of screen space algorithms: they do not depend on scene complexity - only on image size (here for me it is 1024 x 1024) and how many pixels in the image use the shader.
May 5, 2011
Great screenshot this time thanks to integrating a blur shader to the SSDO results and getting regular shadows to show up. It's unfortunately down to running at about 4 fps, at
least in this shot, which I'll need to look at later. In addition, the effect is non-existent on corners where the walls touch, but I'm thinking that's just a matter of
tweaking some variables. In any event, I'm going to start up on caustics, with just simple refraction coming first. Here goes....
June 1, 2011
It's been a while since I've updated, for multiple reasons (day job and other). One thesis-related reason is that I have begun work on Adaptive Caustic Maps and have
run into multiple problems. The first thing I tried to do was get their special version of deferred refraction mentioned in the paper working.
I'm pretty sure I managed to get it very close to being correct. Here are a couple screenshots:
With that mostly working, I thought I'd try to go straight to ACMs, which turned out to be a bad idea due to their complexity (many shader files to figure out, including geometry shaders, which I had never even seen before this). In addition, I had so many textures loaded at once that I ran into the maximum my video card could handle, which is 16, and I still needed more. I also had so many framebuffers that it was beginning to be difficult to keep track of them. Obviously my code needed a refactor, so what I did was take a break from ACMs and simplified everything by writing a Framebuffer class and a Texture class to handle each of those pieces. I then updated my main file to work with the two classes.
Once the small refactor was completed last week I began work on ACMs again, but this time I started with just plain simple caustic mapping. Since Chris Wyman, one of the authors of the ACM paper, released some of his original regular caustic mapping code, I was able to look at that and glean some information about how to program it. My program currently outputs this:
Yeah obviously wrong, but it's a lot better than what I've had the last few days. As far as I can tell I'm getting the correct data, as in my normal, position, and depth textures all *seem* to be right when I view them, yet it's not working. My current two biggest problems to figure out are: is the caustic map correct in the first place (it looks very weird when I view it), and how do I actually put the caustic map onto the background geometry? Currently I'm using my generic shadow shader from way back a few months ago because in the paper it says drawing the caustic map is very similar to shadow mapping, but I guess it's not similar enough. And that's all I've got for now! I'll leave you with another incorrect caustics screenshot:
July 3, 2011
Long time no update! In the last month I have massively changed stuff around, with the biggest change being a conversion of the entire program to compile and run in Windows. While working
on the simple caustic mapping algorithms, I found out Mac OS X has versions of OpenGL and GLSL that are too old. Some functions were not working in (most likely) both OpenGL and GLSL, even
though the program was compiling and appeared to be working. It took at least two weeks of wanting to put my fist through my monitor dealing with Windows-specific problems, but I finally
figured them all out. Progress has moved fairly quickly since then, and here are some screen shots to illustrate:
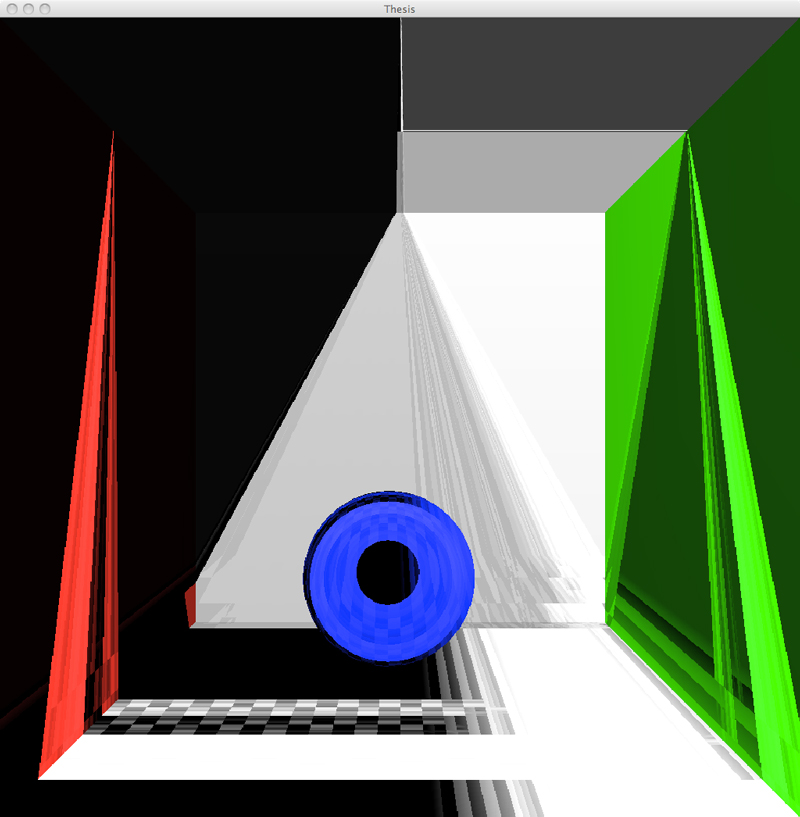
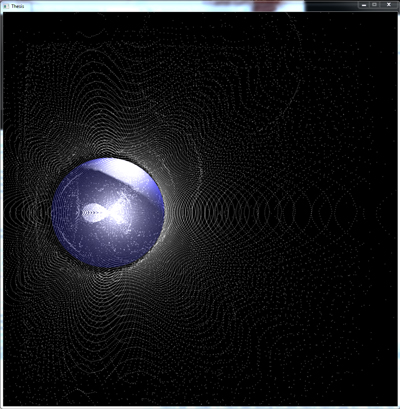
Yes indeed, those are caustics! Here's a shot of just the caustics map (view from the light), with the blue sphere inserted to show where it would be in the scene:
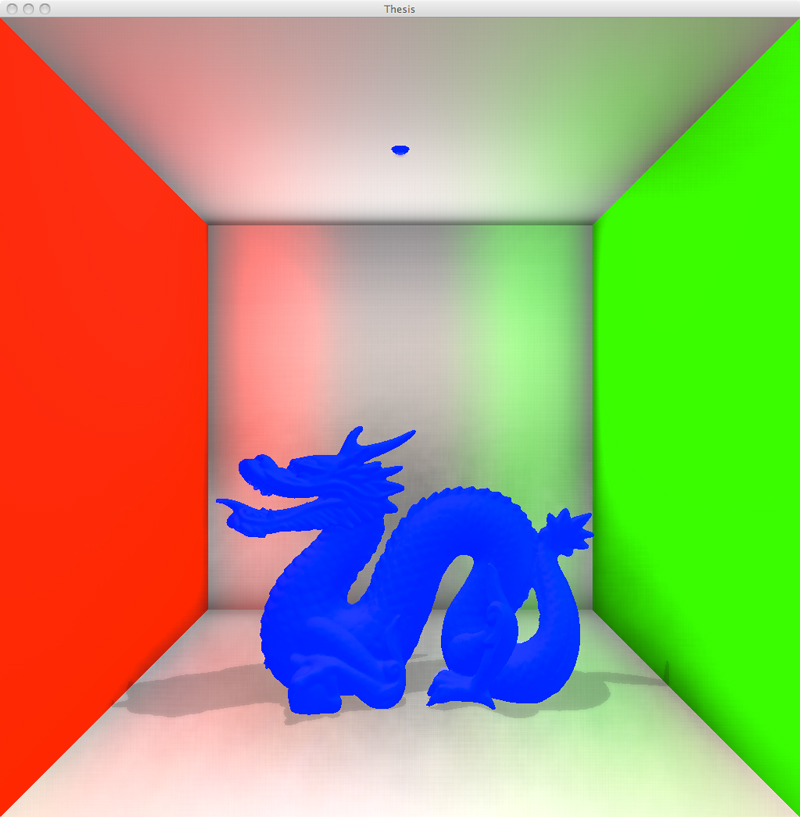
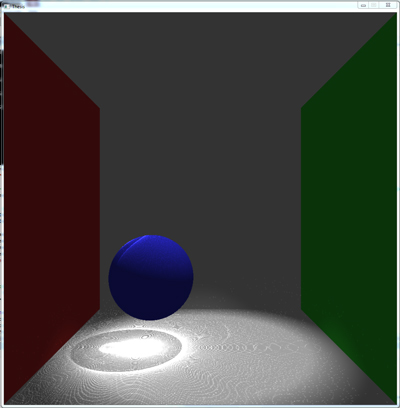
Next up was implementing the deferred refraction shader so the refractive objects actually look like glass (or some other semi-transparent material). Here are a few screen shots showing this working. I made the glass slightly purple to make it easier to see.

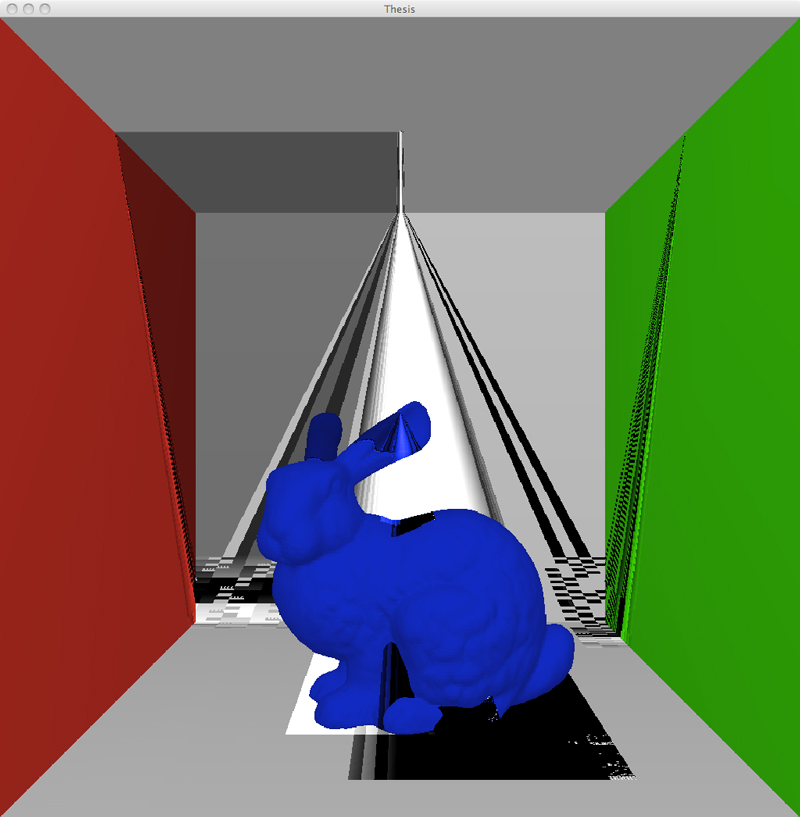
For the next two I removed the "ceiling" of the Cornell box so I could move the light up and increase its viewable area on the scene. This allowed the caustics to show up all the way up the walls instead of just on the bottom part of the scene:
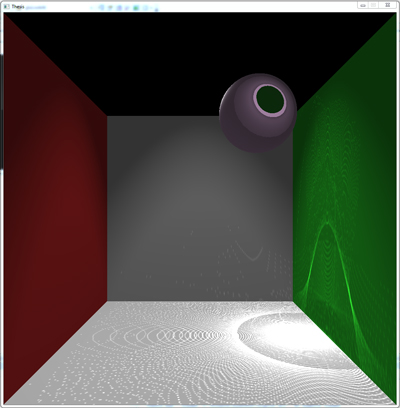

One great thing here is that when all these shots were taken (both sphere and bunny), the scene was running at a nicely real-time 48 frames per second. I tried the dragon too, but it drags the whole thing to a crawl at 18 fps. Still, it's great. Next up: attempting to implement Adaptive Caustic Maps.